Unity 3D is a powerful game engine that allows you to create immersive and interactive experiences for games, apps, and virtual reality (VR) environments. In this article, we will provide a step-by-step guide on how to operate within Unity 3D, including tips and best practices for maximizing productivity and efficiency.
Getting Started with Unity 3D
Before you can start creating within Unity 3D, you need to have the engine installed on your computer. You can download the latest version of Unity from the official website (https://unity3d.com/). Once you have installed Unity, you will be prompted to create a new project.
Creating a New Project
- Open Unity and select “New Project” from the main menu.
- In the “Create New Project” window, select the type of project you want to create (e.g., 2D, 3D, Mobile, or VR).
- Choose a template for your project. This will provide you with a basic structure and assets to get started.
- Give your project a name and choose a location to save it.
- Click “Create” to create your new project.
Setting up Your Scene
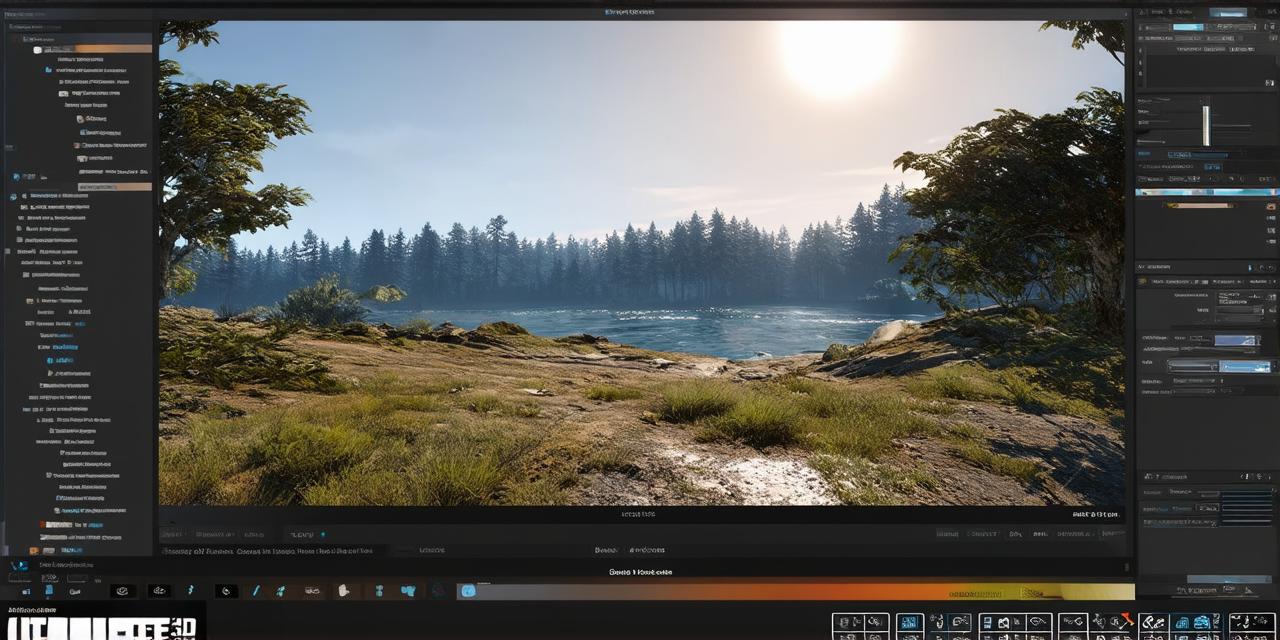
Once you have created your new project, you will be taken to the Unity Editor, where you can start setting up your scene. The Unity Editor is a powerful and intuitive interface that allows you to design, build, and test your project in real-time.
Adding Objects to Your Scene
- In the Unity Editor, go to the “Assets” menu and select “Import Package”.
- Navigate to the folder containing the object you want to import and click on it to select it.
- Click “Open” to import the object into your scene.
- Once the object is imported, you can drag and drop it onto the scene canvas to place it in the desired location.
- To rotate, scale, or move the object, use the transformation tools in the Inspector window (on the right-hand side of the screen).

Creating Scripts
- Go to the “Assets” menu and select “Create”.
- Choose “C Script” from the dropdown menu.
- Give your script a name and choose a location to save it.
- Open the script in your preferred code editor and write the code to add interactive behavior to your object.
- To attach the script to an object, go back to the Unity Editor, select the object, and drag the script from the Project window onto the object in the scene canvas.
Working with Lighting and Camera
Lighting and camera are two essential components of any 3D scene. To work with lighting and camera, follow these steps:
- Go to the “Window” menu and select “Lighting”.
- In the Lighting window, you can adjust the settings for your light sources, such as their intensity, color, and direction.
- To add a new light source, click on the “Add Light” button in the Lighting window.
- Go to the “Camera” menu and select “Camera”.
- In the Camera window, you can adjust the settings for your camera, such as its field of view, aspect ratio, and focal length.


